
To make money clipping GTA6, choose an approved campaign or a paying creator, turn authorized footage into short clips, and deliver work that meets the brief. Choppity helps with finding moments, captions, vertical framing and scheduling. Payment depends on the opportunity and the quality of the work.
Start with a clear route to payment before editing. This guide covers where to find clipping campaigns, how to evaluate their requirements and how to produce GTA6 clips efficiently.
- Find an opportunity: compare campaign briefs or agree on a creator editing package.
- Check the rules: confirm approved footage, eligible views, hashtags and payment terms.
- Create the clips: import, generate, edit and review with Choppity.
- Complete delivery: publish or hand over the files, submit the required links and track payment.
How do GTA6 clippers make money?
There are three common routes. Each has a different customer and definition of a successful delivery.
- Clipping campaigns: an organizer offers a budget for eligible clips or results. Follow its sourcing, posting and submission rules.
- Creator editing services: a creator pays for a package of clips from their recordings. Agree on clip count, fee, revisions and delivery dates.
- An original channel: publish your own commentary or authorized footage and build an audience. Platform revenue and sponsorships depend on eligibility and performance.
Choose one route first. For beginners, one clear brief is easier to evaluate than editing a large batch and hoping to find a buyer afterward.
Where to find GTA6 clipping campaigns
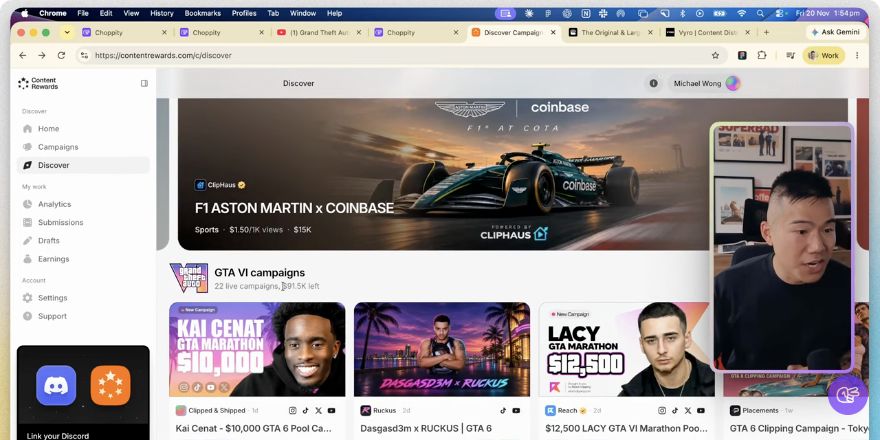
Campaign platforms connect organizers with clippers. Use their current listings to compare opportunities; Choppity is the editing tool used to produce the clips.
Content Rewards
Content Rewards provides a campaign directory with individual briefs. Open a relevant creator campaign and review its eligibility and payment conditions before joining.
- Look for: the approved creator, source recordings and supported social platforms.
- Check: the pool or rate, minimum view requirements, deadline and submission process.
- Record: mandatory hashtags, mentions and any branding instructions.
Clipping.net
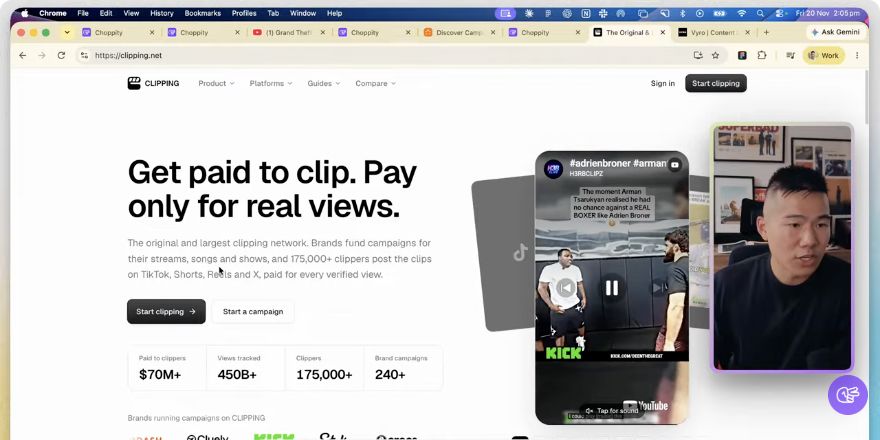
Clipping.net is another place to explore clipping campaigns. Compare each available brief against the kind of footage and social accounts you can work with.
- Confirm the creator and recordings you are allowed to use.
- Check how accepted posts and eligible views are counted.
- Read the payout conditions before treating views as payable results.
Vyro
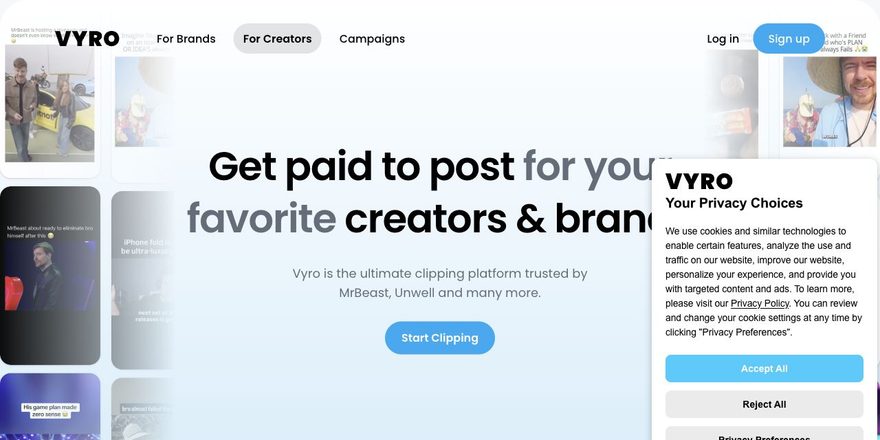
Vyro offers a creator route for exploring campaign work. Review the current campaign listing rather than assuming a GTA6 offer is always available.
- Check whether a suitable campaign is open.
- Match the brief to your content format and publishing platforms.
- Verify approval, submission and payment requirements.
Kai Cenat campaign example: budget, views and hashtag
A Kai Cenat GTA6 marathon campaign illustrates how several conditions can apply to the same opportunity. The following figures describe a past campaign example, not an active offer.
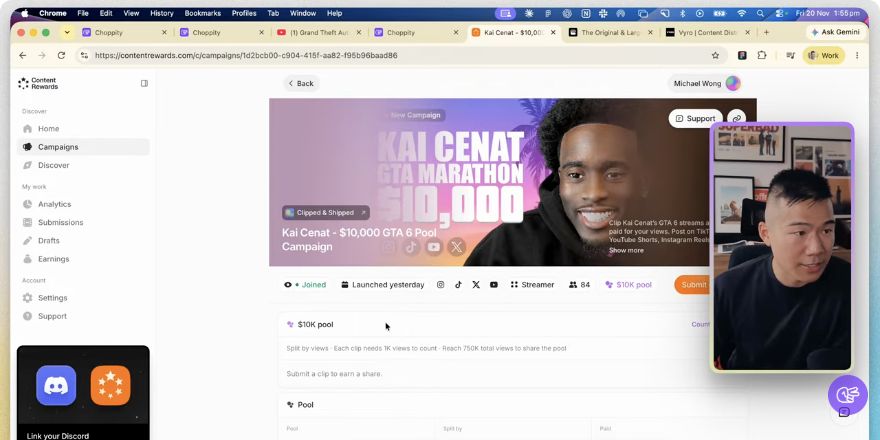
- Campaign pool: $10,000, split by views and paid when the pool ends.
- Per-clip threshold: each clip needed 1,000 views to count.
- Pool qualification: the brief listed a 750,000 total-view requirement to share the pool.
- Approved source: Kai Cenat’s GTA6 marathon on Twitch or YouTube.
- Content focus: Kai playing GTA6 as the main subject.
- Required hashtag: #KaiCenat in the post captions.
A pool is a shared budget, not an individual earnings promise. Before joining any campaign, check who must meet each threshold, which views qualify and how the final share is calculated.
Step 1: Check the campaign before you clip
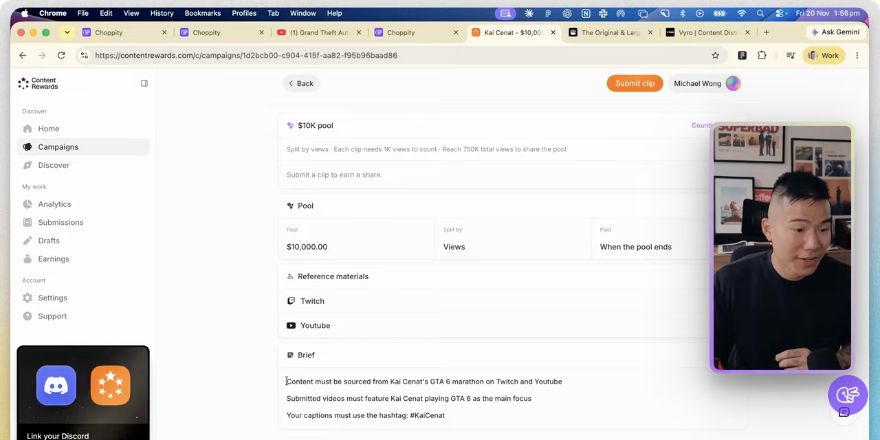
Turn the brief into a checklist before importing footage. Save the campaign link and note:
- Source permission: approved creators, recordings and permitted uses.
- Eligibility: accepted countries, accounts and social platforms.
- Creative requirements: duration, captions, branding and prohibited edits.
- Posting rules: hashtags, mentions, deadlines and post visibility.
- Payment: eligible-view measurement, thresholds, review and payout timing.
- Submission: where to provide post URLs and supporting information.
Resolve unclear requirements first. A strong edit can still be rejected if it uses the wrong recording or misses a required tag.
Step 2: Import approved GTA6 footage
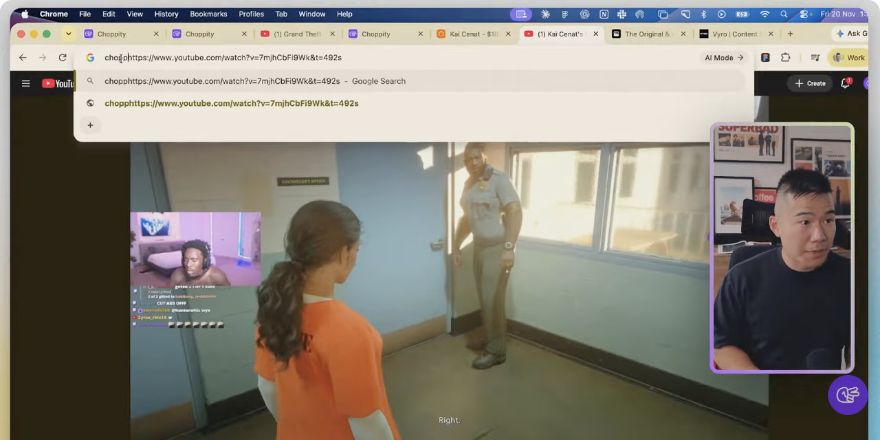
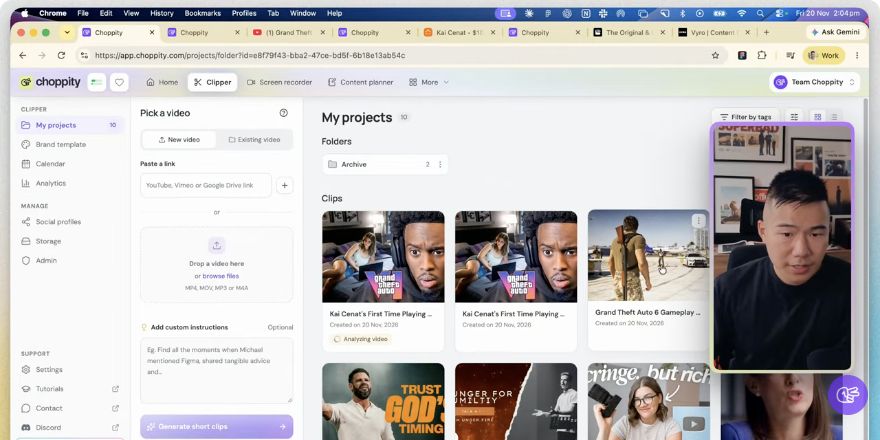
Open the GTA6 Clipper and add your source.
- Upload an authorized recording or paste a supported video link.
- Alternatively, place chopp.ing/ before a supported video URL to open the clipping workflow.
- Choose a starting clip duration. One minute is a useful starting point for a complete reaction or exchange.
- Adjust the final length to the moment and campaign brief after reviewing the suggestions.
Use a link to the actual video rather than a channel or search page. Keep a record of the source for later review and submission.
Step 3: Set up captions and a hook style
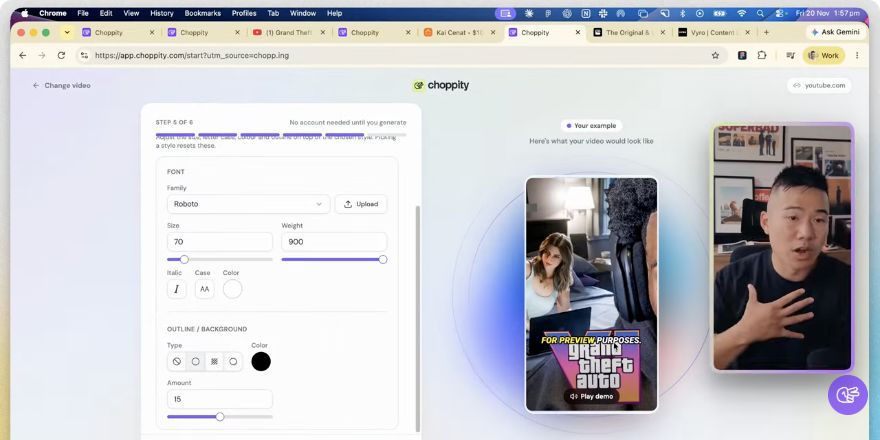
A reusable style saves setup time across a batch. Start with a GTA6 brand template, or configure these settings:
- Layout: Portrait for a vertical clip.
- Caption style: Classic, with a larger font and all caps if it suits the source.
- Hook: enable a bold yellow headline and position it where it does not cover the action.
- Readability: check contrast and text size on a phone-sized preview.
Keep the hook specific to the clip’s payoff. Follow campaign branding instructions whenever they specify a different treatment.
Step 4: Choose GTA6 moments worth watching
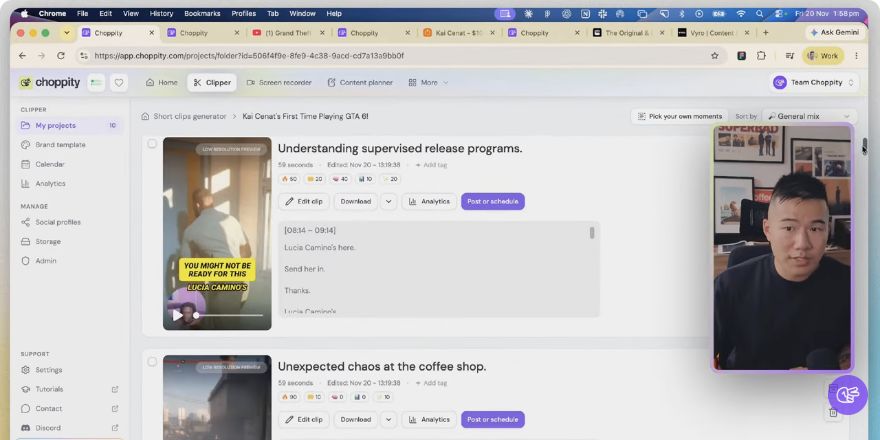
Generate suggestions, then watch the strongest candidates. Look for a complete moment rather than exporting every result.
- Reactions: keep the trigger and the creator’s response together.
- Surprises: include enough setup for the unexpected turn to make sense.
- Gameplay payoffs: keep the action, escape or discovery visible.
- Explanations: preserve the question and useful answer.
A startled Kai Cenat reaction benefits from a layout that includes his facecam alongside the gameplay. A jackfrags gameplay-only source can devote the frame to the game. Match the composition to the footage.
Step 5: Refine the transcript, captions and crop
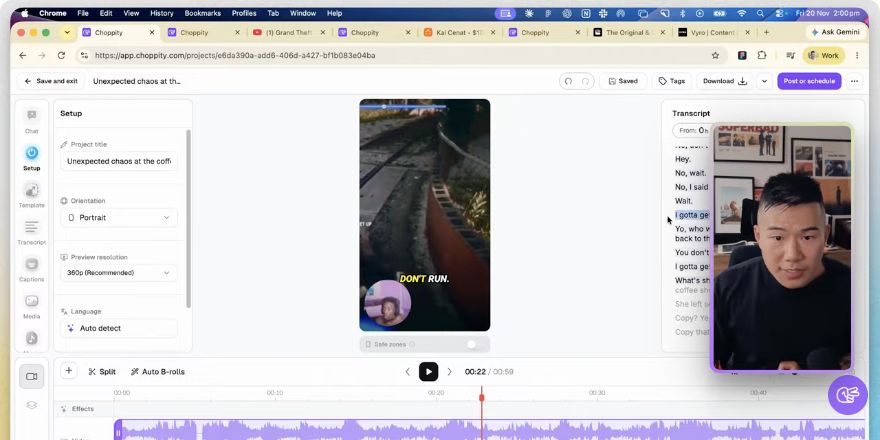
Open a selected clip and work through this editing checklist:
- Trim: move the start closer to the interesting moment and end after the payoff.
- Hook: select a useful transcript segment and choose Use as hook when it creates an accurate opening.
- Clean up: review silence, filler-word and retake removal, plus any profanity treatment.
- Correct captions: check creator names, game terminology and slang.
- Balance audio: keep optional music and sound effects below important speech.
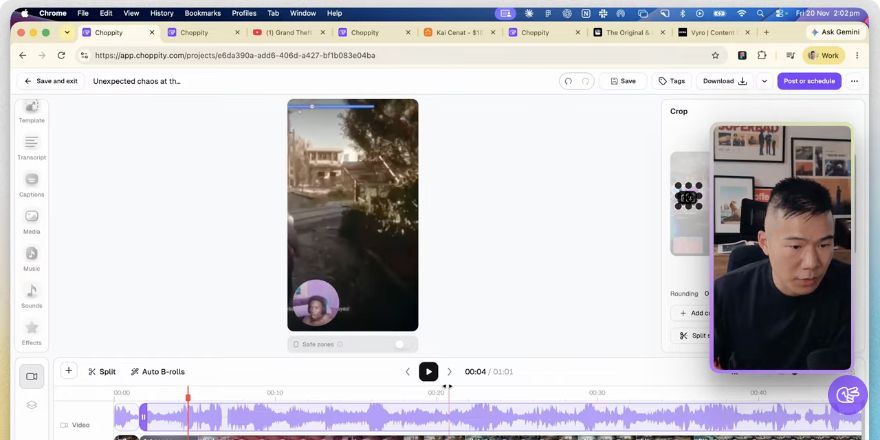
- Reframe: select each scene and reposition the crop when a vehicle, character or facecam falls outside it.
Watch the whole edit after making changes. Removing a pause or moving a line can change the meaning even when the captions still read smoothly.
Step 6: Publish, submit and track results
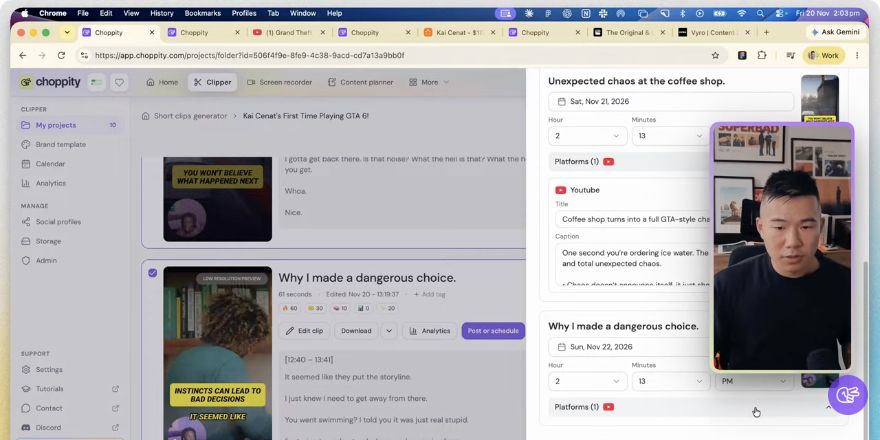
Finish the publishing workflow in this order:
- Connect accounts: add the destination accounts under Social profiles.
- Choose clips: select one clip or a batch, then use Post or schedule. You can also export the files.
- Check post copy: add required tags such as #KaiCenat when the brief calls for them.
- Review destinations: confirm the account, platform and scheduled time.
- Submit: send the post URLs through the organizer’s required process.
- Track: record submission status, eligible results and payment.
Posting and campaign submission can be separate steps. Keep both in your checklist.
How much can you make clipping GTA6?
There is no fixed income figure for every clipper. Evaluate the opportunity using three measures:
- Campaign earnings: apply the payout formula to accepted, eligible results rather than total public views.
- Client fees: price the source length, clip count, caption correction, revisions and turnaround.
- Net return: subtract tool costs and compare the remaining income with the hours spent.
Start with a small batch. Use actual accepted results and payments to decide whether the work is worth repeating.
Frequently Asked Questions
Can beginners make money clipping GTA6?
Beginners can learn the workflow and pursue creator editing work or approved campaigns. Start with one clear brief, a small batch and careful review. Payment depends on acceptance and the agreed terms.
Do you need permission to clip a streamer?
Use your own footage or footage you are authorized to edit and publish. For campaigns, check both the approved source and the permitted use.
Does every view count toward payment?
No. Campaigns can define eligible platforms, measurement periods, minimum thresholds and exclusions. Read those conditions before estimating earnings.
What is the best GTA6 clipper for campaign work?
Look for supported imports, editable clip suggestions, captions, vertical framing and an efficient review workflow. Choppity combines these editing tasks while you retain control of the final clip.
Build your GTA6 clipping workflow
- Choose one approved source and one clear brief.
- Generate a small batch and review every edit.
- Publish, submit and record the outcome.
- Repeat the formats that produce useful, accepted work.
Start with the GTA6 Clipper, follow the detailed GTA6 clipping tutorial, or compare Choppity plans.

Written by
Michael WongFounder & CEO · Founder of Choppity
Content creator for 12+ years with 215K+ YouTube subscribers and an active presence across YouTube, Instagram, LinkedIn, and X. As founder of Choppity, Michael has personally tested every major AI clip maker — giving him a unique perspective on what works and what doesn't for real creators.